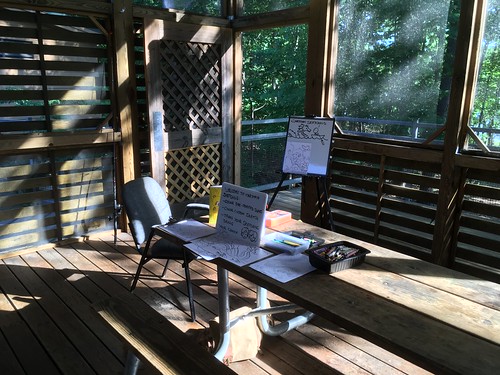
Spent 3 hours last night at
"Bands, Bites, and Boats at Bond Park" in this screened porch area.
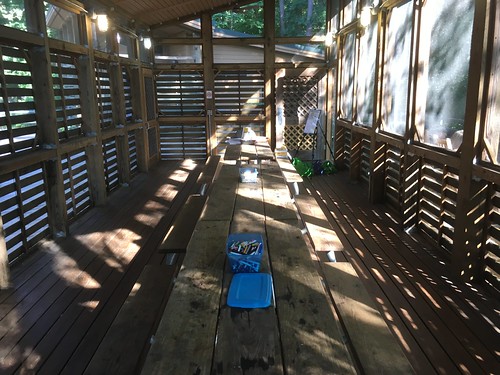
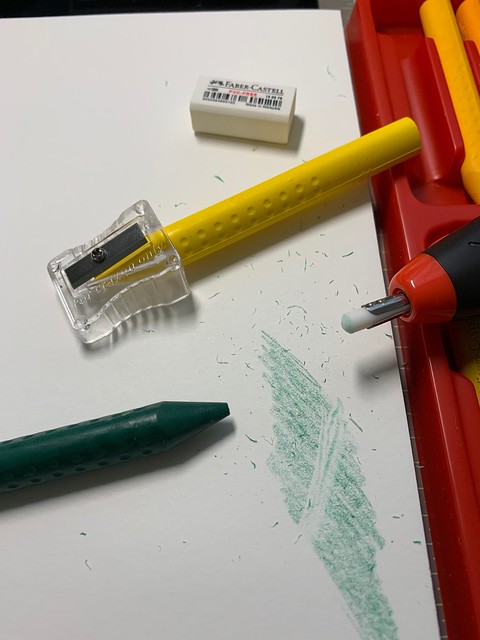
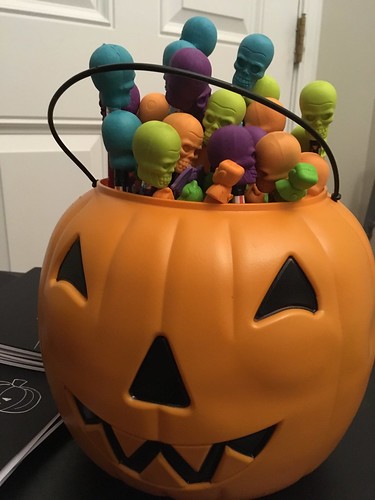
There was plenty of room, overhead fans, table space, light, and art supplies for whatever crowd of kids decided to indulge in artistic endeavors as the band played and others opted to row in the evening.
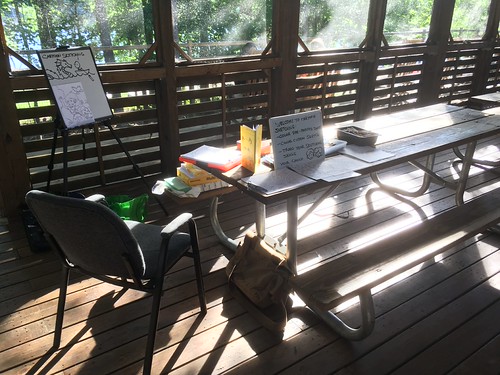
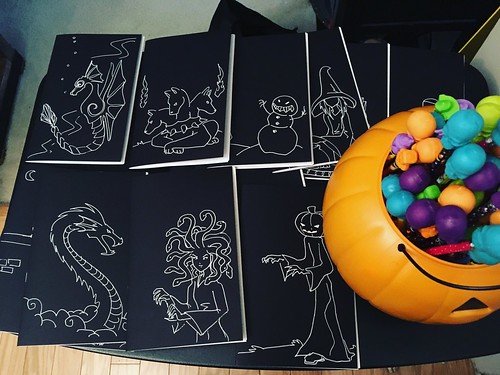
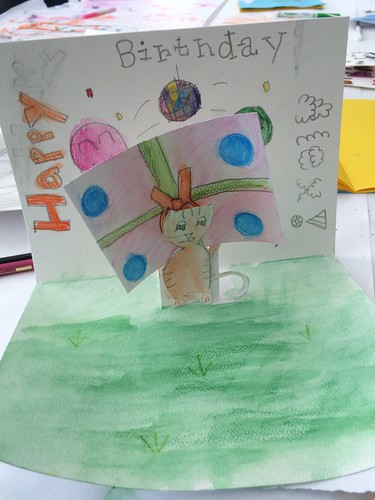
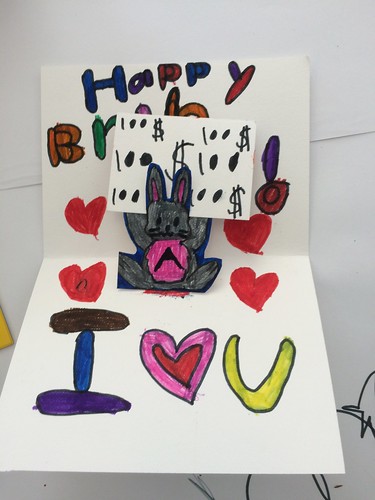
Probably because of the lack of visibility, I had plenty of time to doodle some custom illustrations for coloring pages. For future events, we should probably put a bigger sign outside with sample pictures to entice more guests to come in.
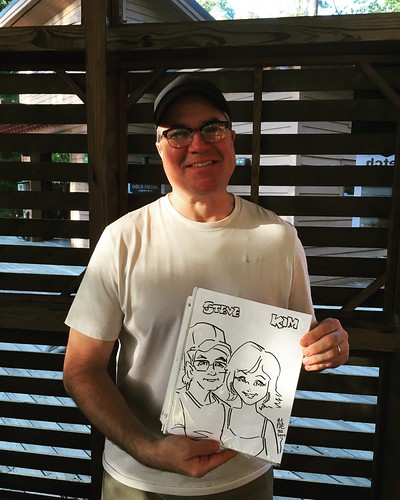
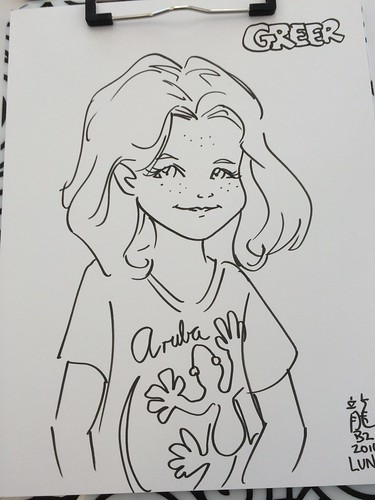
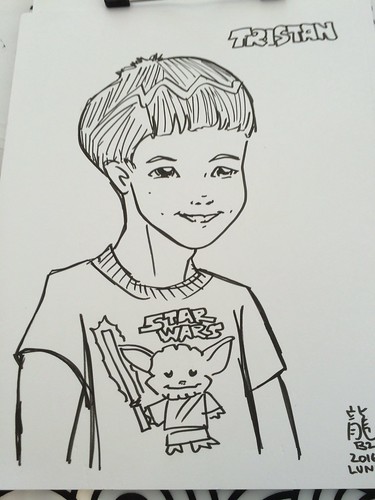
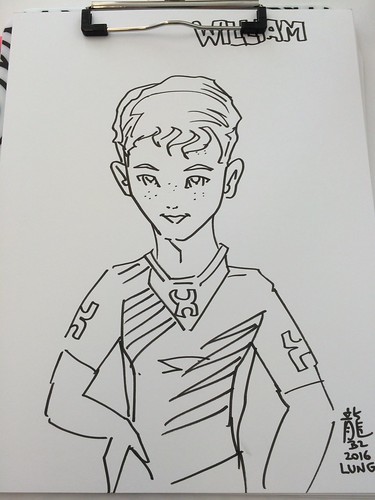
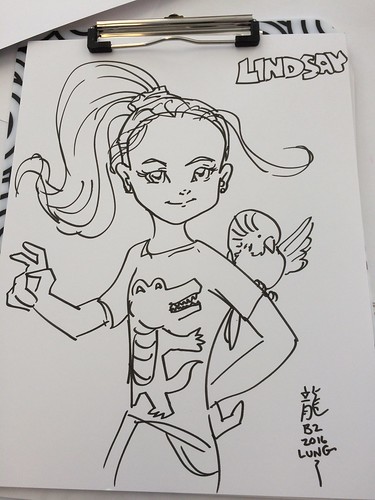
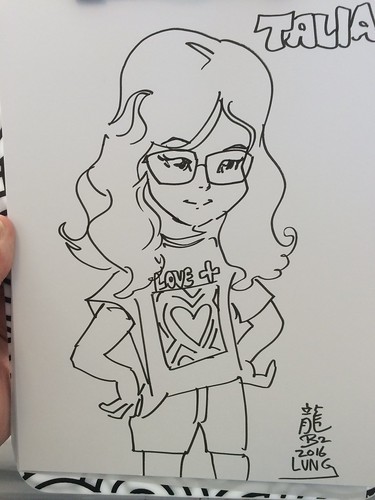
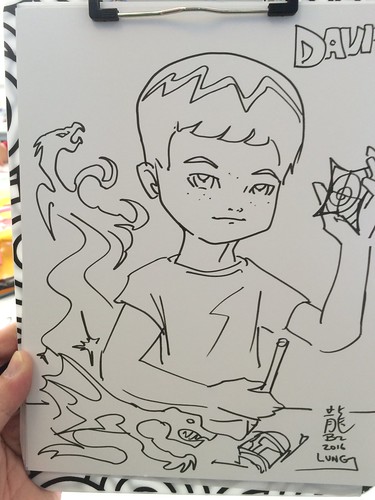
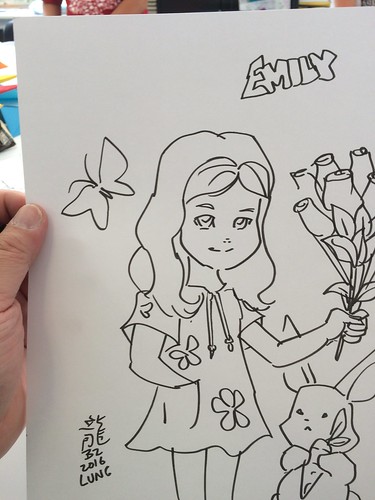
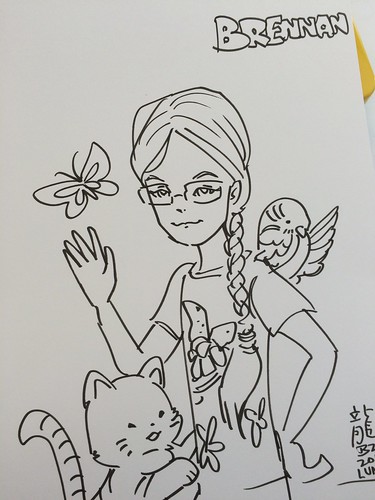
Then in strolled Steve and asked if I could draw cartoon portraits of his party of six on a single sheet. Since I only had letter size card stock on hand, I drew him and his wife on one. their three kids on another, and their aunt on a third sheet. Happy birthday Steve! Glad I could brighten your family's evening.

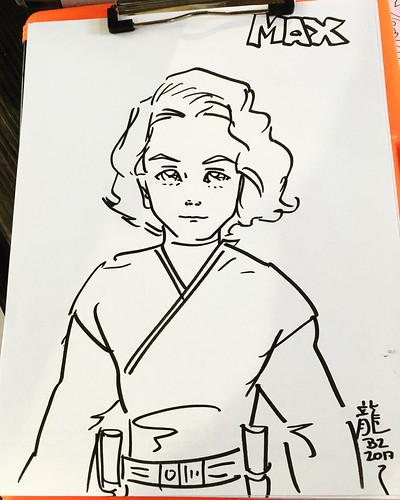
Then this set of twins came in and had their portraits drawn while they colored some of the dragon coloring sheets I had on the activities table. Since they allowed me to choose, I drew one as a ninja and the other as a Jedi.
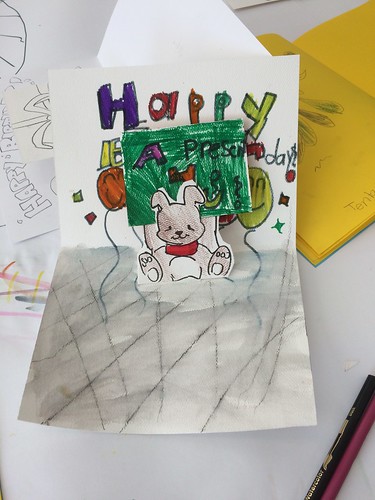
When i started to clean up, I offered them the pile of custom drawings I had made throughout the night to keep them busy until they can join us for some of the upcoming classes and camps at the Cary Arts Center. Also introduced the Center and passed brochures for ladies that stopped by to inquire about the nature our program for the evening. Thanks to everybody that stopped by.